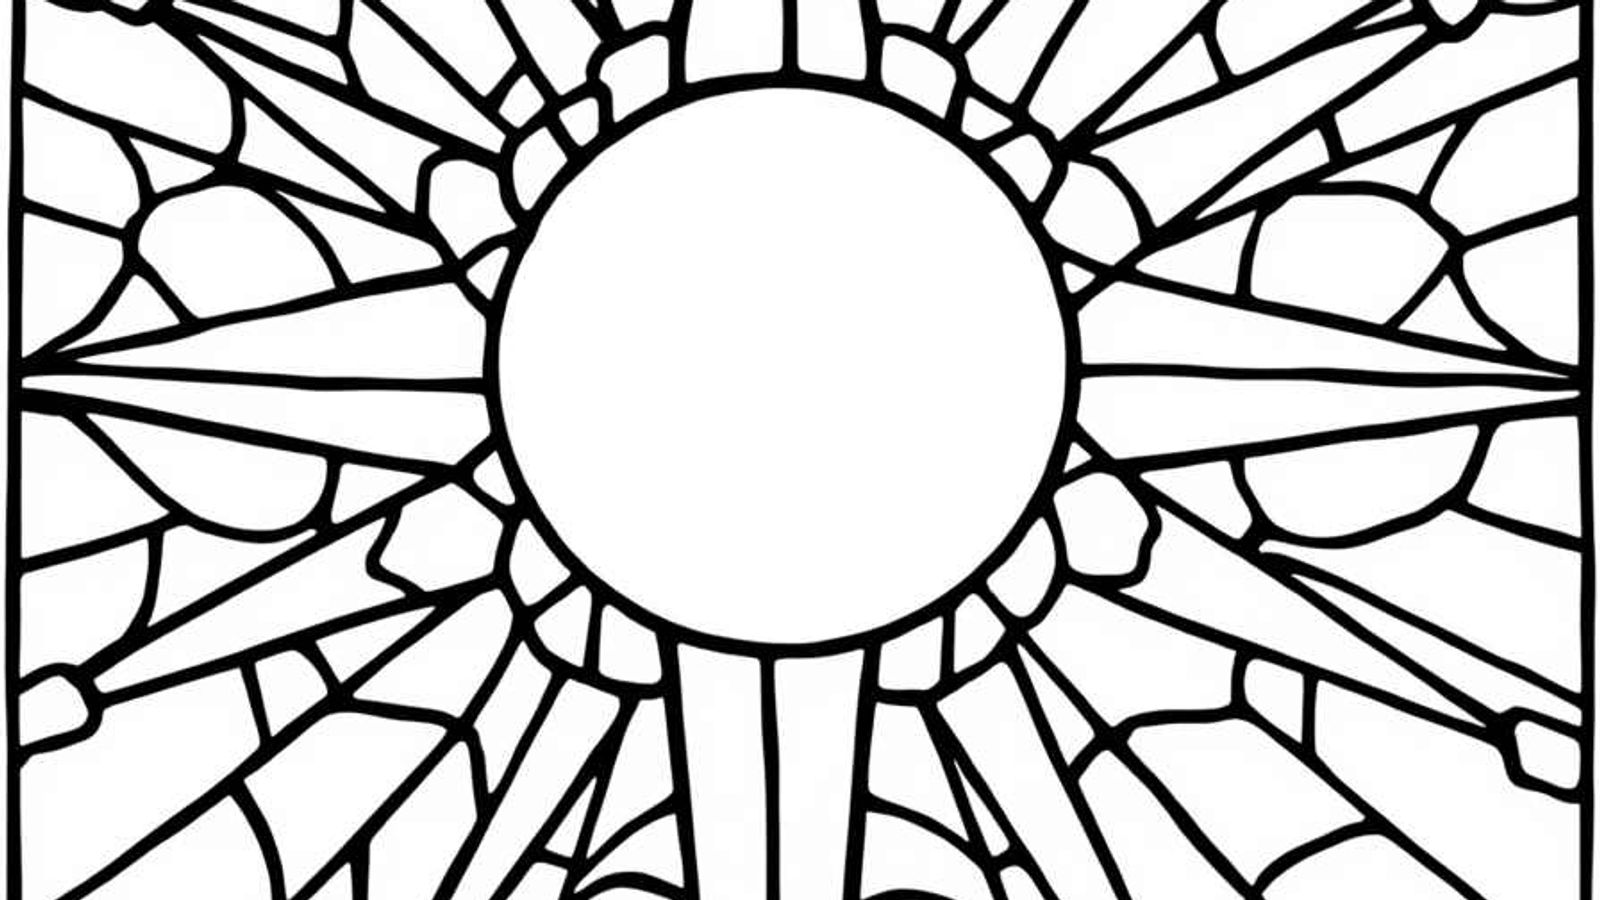

You're staring at your collection of 120 colored pencils, feeling overwhelmed. You pick a nice blue, then add some green, then maybe purple? Before you know it, your beautiful mandala looks muddy and chaotic. Sound familiar?
The difference between coloring that looks "okay" and coloring that makes people say "wow" isn't artistic talent... It's understanding color theory.
The good news? You don't need an art degree to grasp the basics.
This guide will teach you simple color principles that immediately improve your coloring pages, with practical techniques you can apply today.
Why Color Theory Matters for Your Coloring
Color theory isn't about following rigid rules—it's about understanding why certain colors work beautifully together while others clash. Once you grasp these principles, you'll:
- Spend less time second-guessing color choices
- Create cohesive, professional-looking finished pages
- Develop confidence experimenting with new combinations
- Understand how to set mood and atmosphere through color
- Make intentional choices that enhance rather than fight your design
Think of color theory as a toolkit. You wouldn't need every tool for every project, but knowing they exist expands your possibilities.
The Color Wheel: Your Essential Reference
Every color theory lesson starts here, and for good reason. The color wheel organizes colors by their relationships to each other.
Primary Colors: The Foundation
Red, blue, and yellow. These three colors cannot be created by mixing other colors—they're the source from which all other colors spring. When choosing colors for coloring pages, primaries create bold, energetic, childlike effects.
Best for: Kids' designs, playful themes, high-energy illustrations
Secondary Colors: The First Mix
Orange (red + yellow), green (blue + yellow), and purple (red + blue). These sit between the primaries on the color wheel. Secondaries feel slightly more sophisticated than primaries while still maintaining vibrancy.
Best for: Nature scenes, balanced designs, transitioning between bold and subtle
Tertiary Colors: The Nuanced Middle
Red-orange, yellow-orange, yellow-green, blue-green, blue-purple, red-purple. These are created by mixing a primary with its neighboring secondary. Tertiary colors offer the nuance that makes your coloring feel polished.
Best for: Realistic coloring, subtle gradients, sophisticated palettes
Understanding Warm vs. Cool Colors
This simple distinction transforms how you approach color combinations for coloring.
Warm colors (reds, oranges, yellows, warm purples) advance visually—they appear to come forward on the page. They evoke energy, passion, excitement, warmth.
Cool colors (blues, greens, cool purples) recede visually—they appear to move backward. They evoke calm, serenity, distance, coolness.
Practical Application
In a landscape coloring page, use warm colors for foreground elements (flowers, grass up close) and cool colors for background elements (distant mountains, sky). This creates natural depth and dimension.
In a mandala, alternate between warm and cool sections to create visual rhythm and prevent monotony.
Five Proven Color Scheme Ideas for Coloring
These time-tested combinations guarantee harmonious results.
Monochromatic: One Color, Many Values
Using different shades, tints, and tones of a single color creates sophisticated, cohesive designs.
How to create it: Choose one color (say, blue). Use the lightest version for some areas, medium saturation for others, and the darkest shade for accents and shadows.
Why it works: Impossible to clash with itself. Creates automatic unity and calm.
Tips: Add neutrals (white, gray, black, brown) for contrast without disrupting the monochromatic feel. Layer your single color repeatedly to build depth from light to dark.
Best for: Elegant designs, practice with shading and dimension, creating mood
Example palettes:
- Blues: sky blue, azure, navy
- Greens: mint, forest green, hunter green
- Purples: lavender, plum, deep violet
Analogous: Neighbors on the Wheel
Using three colors that sit next to each other on the color wheel (like yellow, yellow-green, and green).
How to create it: Pick one dominant color, then use its immediate neighbors as support colors. One color should dominate (60%), one should support (30%), and one should accent (10%).
Why it works: These colors share undertones, so they naturally harmonize. They're close enough to feel unified but different enough to create interest.
Tips: Vary the saturation levels—not every color needs to be at full intensity. Use the middle color as your transition between the outer two.
Best for: Natural scenes, smooth gradients, peaceful compositions
Example palettes:
- Sunset: red, red-orange, orange
- Ocean: blue, blue-green, green
- Autumn: yellow-orange, orange, red-orange
Complementary: Opposites Attract
Colors directly across from each other on the wheel (like blue and orange, red and green, yellow and purple).
How to create it: Choose one complementary pair. Use one as your dominant color (70-80%) and the other as a powerful accent (20-30%).
Why it works: Complementary colors create maximum contrast and vibration. They make each other appear more vivid.
Tips: Don't use equal amounts—that creates visual competition. Let one dominate. Use the accent color sparingly for maximum impact. Consider using a muted version of one color with a vibrant version of its complement.
Best for: Drama, energy, making elements pop, creating focal points
Example palettes:
- Classic: blue + orange
- Holiday: red + green (vary the shades to avoid cliché)
- Royal: yellow + purple
Triadic: Three-Point Balance
Three colors evenly spaced around the wheel (like red, yellow, and blue, or orange, green, and purple).
How to create it: Imagine an equilateral triangle on the color wheel. The three points are your colors. Again, let one dominate while the others support.
Why it works: Creates vibrant, balanced variety without chaos. The equal spacing provides natural harmony.
Tips: This scheme can look juvenile if you're not careful. Use different saturation levels—maybe one vibrant color with two muted companions. Or use one light value, one medium, one dark.
Best for: Playful designs, retro vibes, bold statements
Example palettes:
- Primary: red, yellow, blue (use dusty versions for sophistication)
- Secondary: orange, green, purple
- Pastels: peach, mint, lavender
Split-Complementary: Complementary's Softer Cousin
Choose one color, then instead of using its direct complement, use the two colors on either side of the complement.
How to create it: Pick your main color (say, blue). Find its complement (orange). Now use the colors on either side of orange (yellow-orange and red-orange) instead.
Why it works: Provides the contrast of complementary colors but with less tension. Easier to work with for beginners.
Tips: This is one of the most versatile schemes. It's hard to mess up and almost always looks pleasing.
Best for: Everything—it's beginner-friendly and sophisticated
Example palettes:
- Blue, yellow-orange, red-orange
- Red, yellow-green, blue-green
- Yellow, red-purple, blue-purple
Advanced Techniques: Going Beyond Basic Schemes
Once you're comfortable with foundational color combinations for coloring, try these techniques.
The 60-30-10 Rule
Professional designers use this proportion guideline: 60% dominant color, 30% secondary color, 10% accent color.
In coloring pages, apply this by:
- Using your main color for the largest areas
- Your secondary color for medium-sized sections
- Your accent color sparingly for small details that draw the eye
This creates balanced compositions that don't feel chaotic.
Temperature Mixing
Intentionally mix warm and cool versions of the same hue for depth.
Instead of coloring all leaves the same green, use warm yellow-greens for sunlit areas and cool blue-greens for shadows. This single technique makes your coloring look dramatically more realistic and professional.
Neutral Grounding
When your palette feels too vibrant or chaotic, add neutral elements.
Browns, grays, tans, and even blacks act as visual rest stops. They let the eye relax between vibrant sections. In nature-themed coloring pages, brown tree trunks and gray rocks ground exciting flower colors. In abstract designs, neutral sections prevent color overload.
The Pop of Complement
Working with an analogous scheme (say, all blues and greens)? Add one tiny touch of the complement (orange or red) as a focal point.
Your eye will immediately go to that contrasting element. Use this strategically to highlight the most important part of your design.
Practical Color Selection Strategies
These step-by-step approaches take the guesswork out of choosing colors for coloring pages.
Strategy 1: Start with Inspiration
Before touching your coloring page, gather inspiration. This could be:
- A photo of a sunset
- A favorite painting
- A piece of fabric
- A natural scene
Identify the 3-4 dominant colors in your inspiration. Use those as your palette. You're not copying—you're learning from proven combinations that already work.
Strategy 2: Test on Scrap Paper
Never commit colors directly to your final page. Use scrap paper to test combinations first.
Color small swatches of your chosen colors next to each other. Do they harmonize or clash? Adjust before investing time in the actual page. This 30-second test prevents hours of regret.
Strategy 3: The Squint Test
After choosing your colors, partially color a section, then squint at it.
Squinting blurs details and reveals the overall color balance. Does one color dominate too much? Is there enough contrast? Are your values (lights and darks) varied enough? Adjust accordingly.
Strategy 4: The Elimination Method
Overwhelmed by too many color choices?
Pull out only 5-7 colors that work together (one color scheme). Put the rest away. This constraint actually boosts creativity and guarantees your finished page will look cohesive.
Strategy 5: Seasonal Thinking
Seasons offer ready-made, foolproof palettes:
Spring: Soft pastels—baby pink, mint green, butter yellow, sky blue Summer: Vibrant brights—coral, turquoise, sunshine yellow, lime green Autumn: Warm earth tones—rust, gold, deep orange, chocolate brown Winter: Cool and crisp—ice blue, silver-gray, deep evergreen, cranberry
Assigning your design a "season" instantly narrows your choices.
Common Color Theory Mistakes and Fixes
Mistake: Using too many colors at once.
Fix: Limit yourself to one color scheme (3-5 colors). More colors don't equal better results—they equal chaos.
Mistake: Using all colors at the same intensity.
Fix: Vary saturation. Mix vibrant colors with muted versions. Include some very light and very dark values.
Mistake: Distributing colors evenly across the page.
Fix: Let one or two colors dominate. Use others as accents. Unequal distribution creates visual interest.
Mistake: Ignoring the existing undertones in your design.
Fix: Some pages have warm undertones (cream paper, sepia lines), others cool (bright white, blue lines). Choose colors that work with, not against, these undertones.
Mistake: Choosing colors you "should" use instead of colors you love.
Fix: Color theory guides you, but personal preference matters. If you love a color, find a scheme that includes it.
Creating Your Personal Palette Library
Build a reference system for future projects.
Physical swatches: On index cards, create swatches of color schemes you love. Label them: "Sunset Analogous," "Ocean Complementary," "Spring Pastels." Store in a small box.
Digital inspiration: Screenshot or photograph color combinations you encounter in life—a beautiful magazine spread, a garden scene, a painted building. Keep them in a phone folder.
Completed pages: After finishing coloring pages you're proud of, photograph them and note which colors you used. Your past successes guide future choices.
Putting It All Together: A Step-by-Step Coloring Approach
Here's how to apply color theory from start to finish:
- Analyze your design. What's the focal point? What mood do you want? Nature scene or abstract?
- Choose a color scheme. Beginners: start with analogous or split-complementary. They're forgiving.
- Select your specific colors. Pull out only those colors. Put others away.
- Test on scrap paper. Do a small section to verify your choices work.
- Establish your dominance. Color the largest areas with your dominant color first.
- Add support colors. Fill medium areas with your secondary colors.
- Place accents last. Add your high-contrast accent color sparingly in small sections.
- Add depth. Layer colors, mix temperatures, use neutrals where needed.
- Evaluate overall. Step back. Squint. Does it feel balanced? Make final adjustments.
Your Color Theory Journey
Understanding color theory for coloring doesn't happen overnight, but you don't need to master it all before seeing improvement.
Start with one concept—maybe analogous colors. Use only analogous schemes for your next five coloring pages. Notice how this single principle transforms your results.
Then add complementary accents. Then experiment with the 60-30-10 rule. Each principle you internalize expands your creative vocabulary.
The goal isn't to follow color theory rules rigidly—it's to understand the tools available so you can make intentional choices. Sometimes you'll want harmony (analogous colors). Sometimes you'll want drama (complementary colors). Sometimes you'll break every rule because you're creating something uniquely yours.
But you can only break rules effectively when you first understand them.
Your next coloring page is waiting. Before you pick up that first colored pencil, take thirty seconds to choose a color scheme. That small pause, that moment of intention, makes all the difference.
Happy coloring!